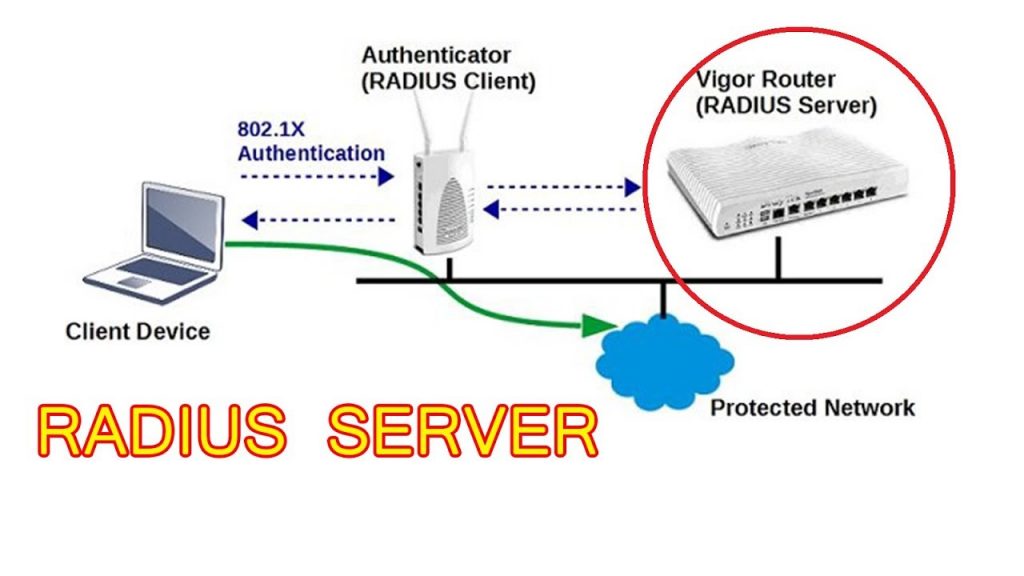
On the Linux console, use the following commands to install the FreeRadius and the MySQL service
1st login to your server . Im using putty . you use putty or winscp or terminal any one your choice.
2nd follow my instraction.
- apt-get update
- apt-get install freeradius freeradius-mysql mysql-server mysql-client
After finishing the installation, use the following command to access the MySQL database server.
- mysql -u root -p
On the MySQl server console, we need to perform the following tasks:
• Create a database name radius.
• Create a MySQL user name radius.
• Give permission over the radius database to the radius user.
- CREATE DATABASE radius CHARACTER SET UTF8 COLLATE UTF8_BIN;
- CREATE USER ‘radius’@’%’ IDENTIFIED BY ‘yourusername123’;
- GRANT ALL PRIVILEGES ON radius.* TO ‘radius’@’%’;
- QUIT;
Locate the correct schema.sql file and the import radius database template inside MySQL.
Locate the correct setup.sql file and the import radius database template inside MySQL.
The system will request the password of the radius SQL user every time you try to import a file.
- updatedb
- locate main/mysql/schema.sql | grep freeradius
- mysql -u radius -p radius < /etc/freeradius/3.0/mods-config/sql/main/mysql/schema.sql
Create a symbolic link to enable the Freeradius MySQL module.
- ln -s /etc/freeradius/3.0/mods-available/sql /etc/freeradius/3.0/mods-enabled/
You have enabled the FreeRadius MySQL module successfully.
Freeradius Configuration – MySQL Authentication
Now, we need to configure FreeRadius and enable MySQL authentication.
Edit the SQL file inside the /etc/freeradius/3.0/mods-enabled directory.
- vi /etc/freeradius/3.0/mods-enabled/sql
Here is the content of the SQL file before your configuration.
sql {
driver = “rlm_sql_null”
dialect = “sqlite”
radius_db = “radius”
acct_table1 = “radacct”
acct_table2 = “radacct”
postauth_table = “radpostauth”
authcheck_table = “radcheck”
groupcheck_table = “radgroupcheck”
authreply_table = “radreply”
groupreply_table = “radgroupreply”
usergroup_table = “radusergroup”
delete_stale_sessions = yes
pool {
start = ${thread[pool].start_servers}
min = ${thread[pool].min_spare_servers}
max = ${thread[pool].max_servers}
spare = ${thread[pool].max_spare_servers}
uses = 0
retry_delay = 30
lifetime = 0
idle_timeout = 60
}
client_table = “nas”
group_attribute = “SQL-Group”
$INCLUDE ${modconfdir}/${.:name}/main/${dialect}/queries.conf
}
Edit the SQL configuration file and insert the Radius MYSQL database information.
Here is the file after our configuration.
sql {
driver = “rlm_sql_mysql”
dialect = “mysql”
server = “localhost”
port = 3306
login = “radius”
password = “kamisama123”
radius_db = “radius”
acct_table1 = “radacct”
acct_table2 = “radacct”
postauth_table = “radpostauth”
authcheck_table = “radcheck”
groupcheck_table = “radgroupcheck”
authreply_table = “radreply”
groupreply_table = “radgroupreply”
usergroup_table = “radusergroup”
delete_stale_sessions = yes
pool {
start = ${thread[pool].start_servers}
min = ${thread[pool].min_spare_servers}
max = ${thread[pool].max_servers}
spare = ${thread[pool].max_spare_servers}
uses = 0
retry_delay = 30
lifetime = 0
idle_timeout = 60
}
read_clients = yes
client_table = “nas”
group_attribute = “SQL-Group”
$INCLUDE ${modconfdir}/${.:name}/main/${dialect}/queries.conf
}
After finishing the configuration, restart the Freeradius service.
- service freeradius restart
You have finished the FreeRadius server installation successfully.
Thanks for with us.

 Your IP Address : 216.73.216.138